Should you shoot real estate photos in RAW? A working agent’s guide to ProRAW, DNG, and when they earn their place
Every serious photography forum tells you to shoot RAW. Most working agents don’t need to. Here’s the honest case, with the step-by-step for every major phone if you decide it’s worth it.
If you’ve spent any time on photography forums, you’ve heard the advice: shoot RAW, always. The serious-photographer position is that RAW files preserve every bit of data the sensor captured, give you full latitude in post-processing, and produce visibly better final images.
That advice is correct for professional photographers and not quite right for working agents shooting their own listings. RAW has real benefits and real costs. Whether to flip the switch depends on what you’re trying to do, what you’re doing afterwards, and how much complexity you want in your shoot-to-MLS workflow.
This article covers what RAW is in plain terms, the honest case for and against using it for listings, the step-by-step for enabling it on every major phone, and the recommendation that most working agents land on once they’ve tried both.
What RAW actually is
A standard JPEG photo (or HEIF, the modern equivalent on iPhone) is a processed image. The phone’s camera takes the sensor data, runs it through the phone’s image-processing pipeline, applies sharpening, contrast, colour, and noise reduction, then compresses the result into a file that displays the same way on every device. By the time you see the photo, the camera has made a hundred small decisions about how the image should look — and you can’t un-make them.
A RAW file is unprocessed. It contains the data the sensor saw, with little or no processing applied. The file is significantly larger than the equivalent JPEG, doesn’t display the same way in every app, and requires post-processing software to look its best. In exchange, you get full control over every decision the camera would otherwise have made for you.
On iPhone Pro models, Apple’s version is called ProRAW, which is technically a hybrid format — it stores the RAW sensor data alongside Apple’s computational photography metadata (Smart HDR, Deep Fusion, Night mode). This is actually better than pure RAW for non-professionals because you keep the iPhone’s automatic improvements while still being able to override them in post.
On Pixel, Samsung, and other Android phones, RAW is typically stored as a DNG (Adobe Digital Negative) file. Some phones save RAW + JPEG together so you have both.
RAW is not HDR
One source of confusion worth clearing up immediately: RAW and HDR are different things. HDR is computational — the phone captures multiple exposures and blends them into a single image. RAW is a single capture with the sensor’s full data preserved.
For the bright-window-dark-interior problem, HDR and RAW are alternative tools, not the same tool. HDR is faster, more automated, and works well for most listing photos. RAW gives more recovery latitude when HDR isn’t enough — but at the cost of an explicit post-processing step. Most agents who think they want RAW for window-exposure problems actually want HDR plus the exposure-lock technique. RAW becomes worth the workflow cost when those don’t get you there.
Should you bother?
The honest case for shooting RAW as a working agent comes down to four scenarios:
- You shoot in genuinely hard light. Listings with dark interiors and bright windows, deep shadow on an exterior under a tree canopy, mixed warm-and-cool lighting fighting the camera’s white balance. RAW gives you more recovery room when the camera can’t capture everything in one frame.
- You’re doing significant post-processing. If you go into Lightroom or Photoshop on every listing and spend 5–10 minutes per image, RAW is the right format.
- You’re using an AI enhancement tool that benefits from RAW input. Some AI photo tools work better with the full sensor data than with a pre-processed JPEG.
- You want maximum quality and you don’t mind the workflow cost. Some agents care about technical excellence on principle and accept the storage and complexity trade-offs.
The honest case against shooting RAW, which is the case most working agents land on:
- The AI enhancement step does most of what RAW lets you do anyway. If you’re feeding the photo to an AI tool that handles exposure, shadow recovery, white balance, and colour, the additional data in a RAW file gives you a marginal benefit, not a transformational one.
- Storage adds up fast. A typical listing shoot in RAW is 1.5–3 GB. Multiple listings per week and you’re filling a phone’s storage in days.
- Shutter speed slows. RAW files write to storage more slowly than JPEGs. The camera may have a brief lag between shots.
- The files don’t behave like normal photos. RAW files don’t preview the same way in every app, don’t share or text the same way, and require an extra step to convert.
How to enable RAW — iPhone (ProRAW)
ProRAW is available only on the Pro line of iPhones — iPhone 12 Pro, 13 Pro, 14 Pro, 15 Pro, 16 Pro, and later Pro models. Standard iPhones (the non-Pro versions) do not support ProRAW natively.
To enable
- Open the Settings app.
- Scroll down and tap Camera.
- Tap Formats.
- Toggle Apple ProRAW to on.
- (Optional) Under “ProRAW Resolution,” choose 12 MP (standard) or 48 MP (iPhone 14 Pro and later) — 48 MP is more flexible but each file is 75–110 MB.
To use ProRAW for a shot
- Open the Camera app.
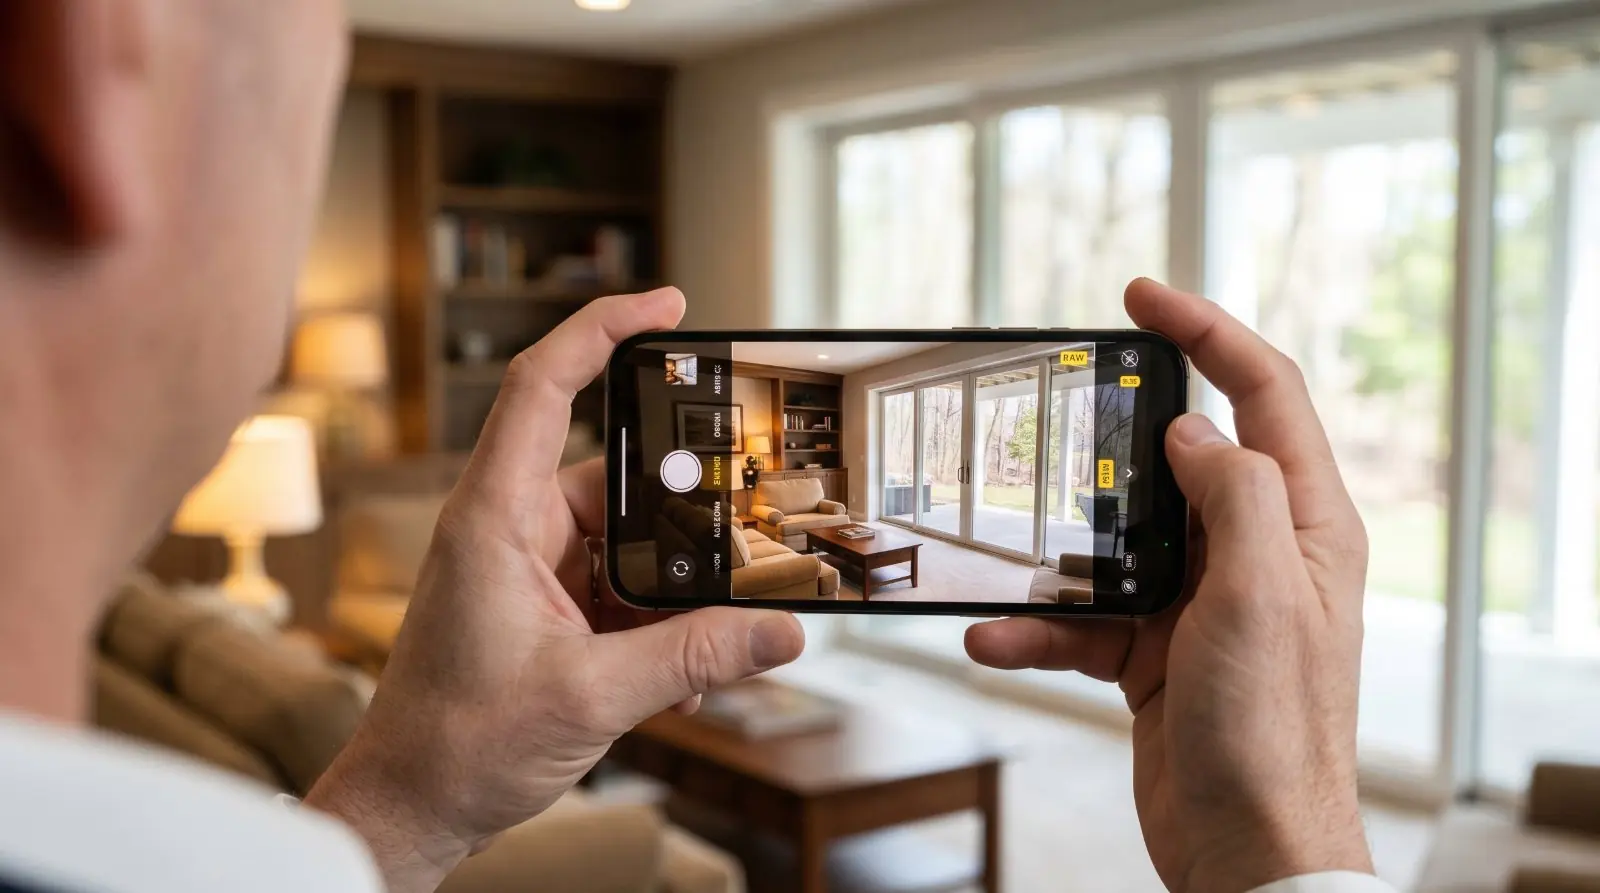
- Look at the top-right of the viewfinder. You’ll see a RAW badge.
- Tap the badge to toggle ProRAW on or off per shot. When ProRAW is on, the badge is solid. When off, the badge has a slash through it.
The photo is saved as a .DNG file in your camera roll. Standard ProRAW files at 12 MP are around 25 MB each.
How to enable RAW — Pixel
Pixel 6 and later support RAW capture natively.
To enable
- Open the Camera app.
- Tap the settings gear (or swipe right from the default camera view, depending on Pixel generation).
- Tap Settings, then Advanced.
- Toggle RAW + JPEG control to on.
Once enabled, a RAW icon appears in the camera UI — usually accessible from the camera mode selector or as a toggle in the viewfinder. Tap to enable RAW for individual shots. Files save as .DNG alongside the standard JPEG. Each pair is roughly 20–30 MB.
How to enable RAW — Samsung Galaxy
Samsung Galaxy S20 and later flagship models support RAW. Pro mode is required — auto mode does not allow RAW capture on Samsung phones.
To enable
- Open the Camera app.
- Swipe through the camera modes (usually at the bottom of the screen) to Pro.
- Tap the settings gear at the top of the screen.
- Find File format and advanced options (the exact menu name varies by Galaxy generation and One UI version).
- Toggle RAW copies or RAW + JPEG to on.
Some Samsung phones offer “RAW only” as a separate option. RAW + JPEG is the safer working default. Once enabled, every photo taken in Pro mode is saved as a .DNG file. Auto-mode shots still save as JPEG only.
This is the most workflow-friction setup of any major phone — you have to be in Pro mode to get RAW, which means every shot needs more deliberate setup.
How to enable RAW — Other Android phones
For Android phones without native RAW support in the stock camera app — some OnePlus, Xiaomi, Oppo, Vivo, and lower-tier flagship models — the path is a third-party camera app:
- Adobe Lightroom Mobile (free): the most reliable cross-platform option. Lightroom’s built-in camera can capture DNG RAW on most Android phones that expose the underlying RAW capability through the Camera2 API.
- Open Camera (free, open-source): captures RAW DNG on supported phones.
- Manual Camera, Camera FV-5, and similar pro apps: paid options with extensive control, RAW support, and manual exposure.
To check whether your Android phone supports third-party RAW capture, install Lightroom Mobile, open the in-app camera, and look for the “DNG” option in the format selector. If it’s there, your phone supports it.
When RAW actually earns its place
The four scenarios where RAW makes a visible difference in the final listing photo:
1. Strong window contrast
Interior shots where the window is bright and the room is much darker. Standard JPEG capture either blows the window to white or crushes the room to black. RAW preserves both extremes, and you can rebuild the exposure in post to show window detail and interior detail in the same frame. The exposure-lock technique handles most of this on its own. RAW gives you a bit more headroom when the exposure lock isn’t enough.
2. Deep shadow on exterior shots under tree canopy
The lot is shaded by mature trees, the camera averages the bright filtered light against the deep shadow on the house, and the JPEG ends up either over-bright in the leaves or muddy in the shadows. RAW lets you lift the shadows in post without the noise and quality loss you’d get from doing the same fix on a JPEG.
3. Mixed warm and cool light
Rooms with both window daylight (cool) and interior lamps (warm) confuse the camera’s auto white balance. The JPEG bakes in whatever white balance the camera chose. RAW lets you adjust white balance per-image (or per-area of the image, in serious post-processing) without quality loss.
4. You’re doing your own serious post-processing
If you’re an agent who genuinely enjoys photo editing and goes into Lightroom or Capture One on every listing, RAW is the right format and there’s nothing more to discuss. You already know this.
The trade-offs, summarised
A clear ledger of what shooting RAW costs:
A clear ledger of what you gain:
RAW is the master. JPEG is the upload.
The single most important workflow point in this article, and the one most agents miss: the RAW file is not what you upload to the MLS.
Most MLS systems don’t reliably handle DNG, ProRAW, TIFF, or other RAW formats. The upload tools are designed around JPEG delivery. A RAW file is for capture and editing — the export to MLS-compatible JPEG is mandatory, regardless of how the original was shot.
The standard workflow with RAW:
- Capture in RAW + JPEG. Phone saves both formats; you have the JPEG as a quick reference and the RAW as the editing master.
- Edit the RAW. Exposure, white balance, highlight recovery, shadow lift, straightening, cropping.
- Export the final image as JPEG. This is the file the MLS gets.
- Archive the RAW separately. Cloud storage, external drive, or wherever your listing files live. The RAW is the original; treat it like a negative.
MLS export specifications
When you export the final JPEG, the working targets (verify against your local MLS):
A note on AI tools and RAW
Modern editing apps include AI-powered tools that work on RAW files — noise reduction, lens correction, mild exposure balancing, white-balance assistance. These are routine post-processing and don’t require disclosure.
The line is the same as for any other image edit: if the AI tool changes what the property is, the edit requires disclosure under NAR Articles 2 and 12, California AB 723, Wisconsin § 452.136(1m), and Colorado SB 189. Generative fill, object removal, sky replacement, virtual staging, and decluttering on a RAW file fall under the same disclosure framework as the same edits on a JPEG.
The recommendation — by listing tier
RAW’s value scales with the stakes of the listing. The right answer for a $300K starter home is different from the right answer for a $2M architectural listing.
Starter / affordable listings (typically under $400K)
Skip RAW entirely. Shoot JPEG (or HEIF). The workflow cost — storage, editing time, the explicit export step — isn’t justified by the marginal output quality the buyer at this tier is looking for. A clean, well-lit JPEG from a recent iPhone or Pixel produces a perfectly competitive listing photo for this segment.
Mid-market listings ($400K–$1M)
Default to JPEG. Try RAW + JPEG on a difficult listing and decide for yourself. If a particular listing has strong window contrast, mixed lighting, or a basement with dynamic-range challenges, capturing in RAW + JPEG gives you the option to edit if needed without forcing a workflow change for every shot. Most agents at this tier end up using RAW selectively rather than consistently.
Premium / move-up listings ($1M–$1.5M)
RAW is genuinely useful here. The buyer at this tier is paying for craft, the property is more likely to have features that benefit from RAW’s editing latitude (architectural details, premium kitchens, view shots), and the workflow time is more easily justified by the listing’s stakes. Shoot RAW + JPEG and edit the RAW for hero shots and detail features.
Luxury listings ($1.5M+)
RAW is the right capture format, but phone work usually isn’t the right primary medium. Luxury sellers expect professional camera work — DSLR or mirrorless on a tripod, with proper lighting and post-processing. Phone RAW produces strong supplementary shots (architectural details a hired photographer didn’t capture, behind-the-scenes content for social, day-to-twilight rendering source images) and works well in that role. It’s not the file the listing leads with.
A note on phone capability: iPhone Pro models (12 Pro and later) have ProRAW natively. Standard iPhones (non-Pro) don’t have native ProRAW; a third-party app like Lightroom Mobile is the path if you want DNG capture. Pixel 6 and later have native RAW support. Samsung Galaxy flagships (S20+) have RAW in Pro mode only. Other Android: usually Lightroom Mobile or similar third-party apps.
The honest summary: RAW is a tool, not a virtue. Use it where it earns its place. Don’t feel obligated by the photography-forum advice to shoot it on every listing.
RAW or JPEG — we handle either. Recovery, white balance, disclosure — one step.
Phone photos to market-ready listing images in 10 seconds. Twenty free when you sign up — no credit card.
One photo tip every Sunday.
Real techniques agents are using this week. No spam. Unsubscribe in one click.